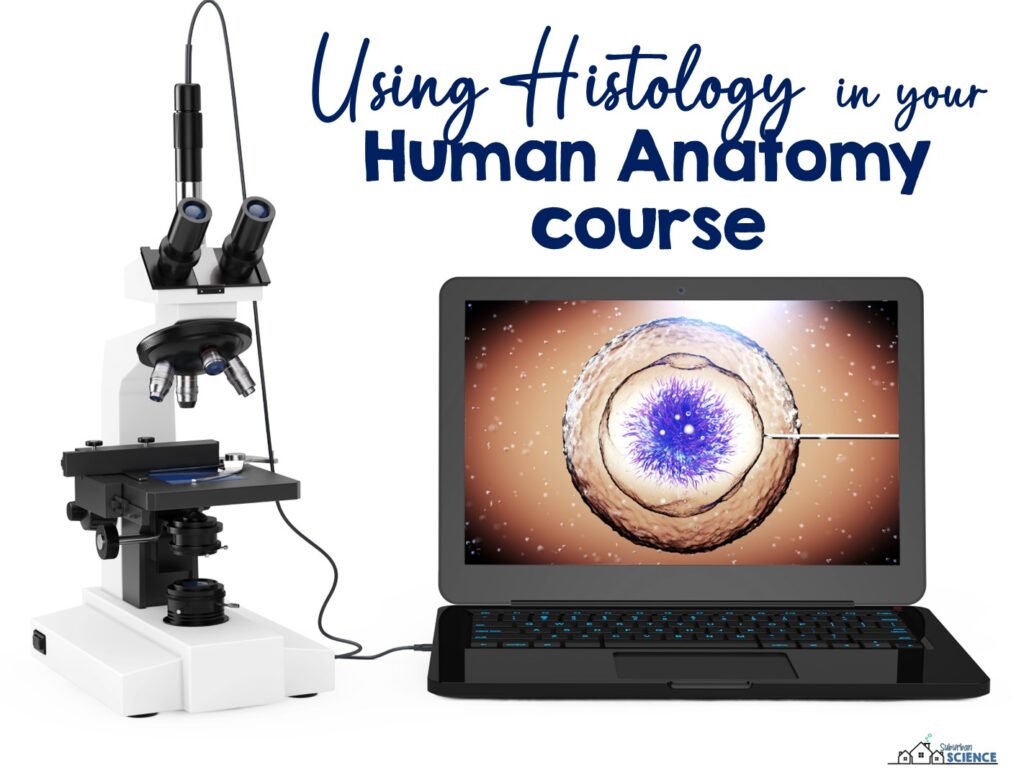
Typical anatomy labs are often dissections or other hands-on lab experiences. Perhaps that’s one reason the study of microscopic anatomy (called histology) is often overlooked in the high school anatomy classroom. Medical professionals understand that histology is essential to our understanding of how the body functions and provides critical data about diseases and disorders. Despite the importance of histology in the medical profession, however, many Anatomy and Physiology teachers are reluctant to include microscope work in their high school classrooms. Students and teachers alike are often eager to move on with the study of larger human body systems rather than spending time on the microscopic study of cells and tissues.

Microscopic anatomy is also essential to our understanding of gross anatomy. In fact, the structure of a specific body tissue can provide clues to its function within the body. This link between structure and function is known as the principle of complementarity. For example, goblet cells are a type of elongated epithelial cells that secrete mucus. Tissues that contain goblet cells are found in the respiratory system, reproductive system, and gastrointestinal tract. Students should be able to hypothesize that these tissues provide mucosal secretions due to the presence of these cells. In short, by weaving the principle of complementarity into the study of the human body, cellular biology becomes easier to understand.
Some teachers prefer to teach microscopic anatomy in the context of each body system. Personally, I like to begin with a short histology unit on the four tissue types and then provide more specifics as we proceed through the rest of the course. I also use a mixture of prepared microscope slides in class and virtual labs for histology that can be found online. If you are teaching students in a pre-med course, you may want them to have practice using a microscope. If you are teaching a more introductory course, you may want to use the virtual slides to save time. Students often need weeks of practice to master the use of a microscope, even if they’ve used one in a previous course.
In my Anatomy and Physiology curriculum, I include investigations of the following slides:
- skeletal muscle
- smooth muscle
- thyroid tissue
- blood smear
- blood vessel
- trachea
- lung
- gastrointestinal tract/alimentary canal
- liver
In each of the investigations above, students draw the tissues under magnification and label structures that we’ve previously discussed in class. It can be a struggle to get students to use the microscopes smoothly at first, but it doesn’t take long for them to get comfortable. For each slide, make sure they know what structures they’re looking for and the correct magnification to use.

If you’re planning to have students draw the slides, you may be interested in using the following guidelines. These will improve the results you will see from student microscope drawings.
- Use pencil. Add color only when instructed to do so.
- Title your drawing.
- To label structures, use lines (not arrows) made with a ruler. Label lines should not cross each other.
- Neatly print the labels at the end of the lines.
- When making a drawing from a microscope, include magnification. When making a macroscopic drawing, provide a scale.
- Fill as much of the space provided as possible.
If you’re new to teaching Anatomy and Physiology, you may be interested in this free Histology Guide to assist you in adding some histology components to your course (see bottom of post). It includes teacher tips, microscope drawing pages, and links to virtual slides.
If you’re looking to add a few histology labs to your existing Anatomy course, check out this Microscopy Lab Bundle.


